What it’s really like to work with Charming Spaces
Houston Professional Organizers
Most people have no idea what it actually looks like to hire a professional organizer.
They imagine we come in, throw away all their things, make things look pretty, line up a bunch of matching bins, and leave. And while yes, your space will absolutely be decluttered and look better… that’s not really what we’re doing.
As a professional organizer, our goal isn’t just to organize your home. It’s to create systems that flow, function, and work for your real life.
So let me walk you through what actually happens when you work with us.
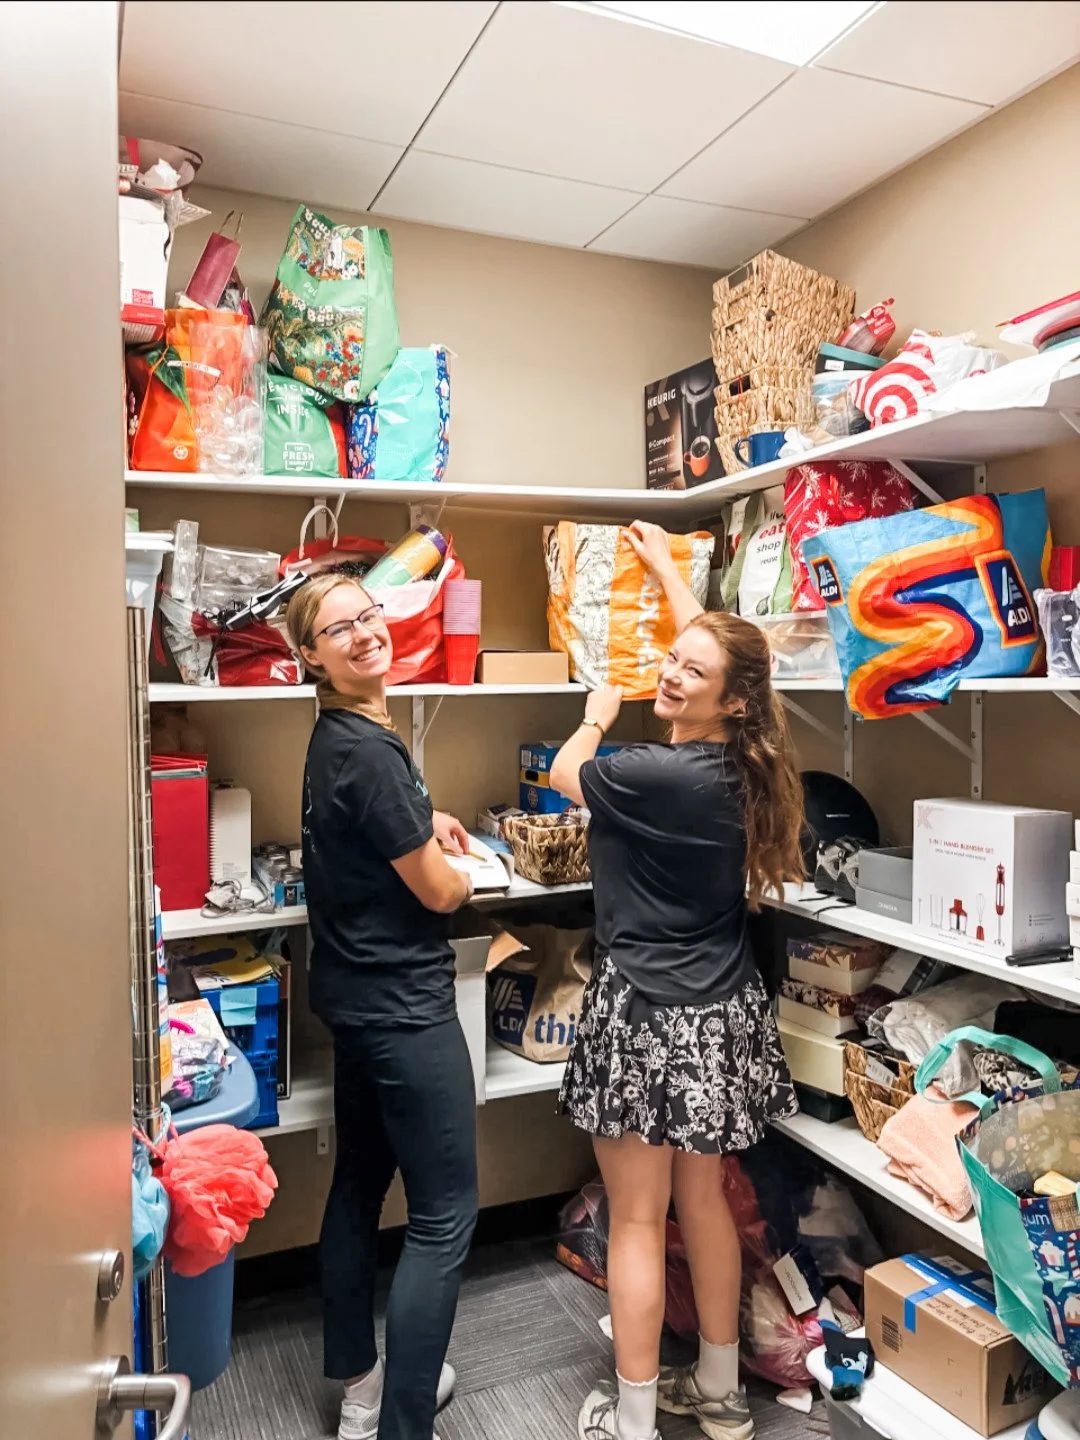
Step 1: The consultation
We begin with a free in-home consultation. It’s a walk-and-talk. Show me your spaces and tell me everything! No judgement.
I’m not just looking at your home, I’m learning how you live in it.
I’ll ask questions like:
What’s frustrating you the most right now?
What’s not working in this space?
What is working well?
Who uses this area, and what should I know about them?
If decluttering is a goal, what percentage of items do you anticipate letting go of?
What do you want this space to feel like and look like when we’re done?
This step sets the foundation for everything. We’re not guessing. We’re building a plan around your real life.
Step 2: Booking
After your consultation, we take your project seriously behind the scenes.
I share all notes, photos, and measurements with my project manager
We both independently estimate the scope of the project
If our estimates don’t align, a team lead weighs in so we can finalize a solid, thoughtful plan
From there:
You receive a detailed estimate via email
You choose which spaces you’d like to start with
We match you with a lead organizer based on personality and skillset
We get your sessions scheduled
Step 3: Planning
About a week before your session, we shift into planning mode.
This is where a lot of behind-the-scenes work happens:
We re-review all notes, photos, and measurements
We assign team members to specific areas
We determine what organizing products (if any) are needed
Orders are placed and prepped ahead of time
All team members review the project details before arriving
By the time we walk into your home, we already have a clear plan.
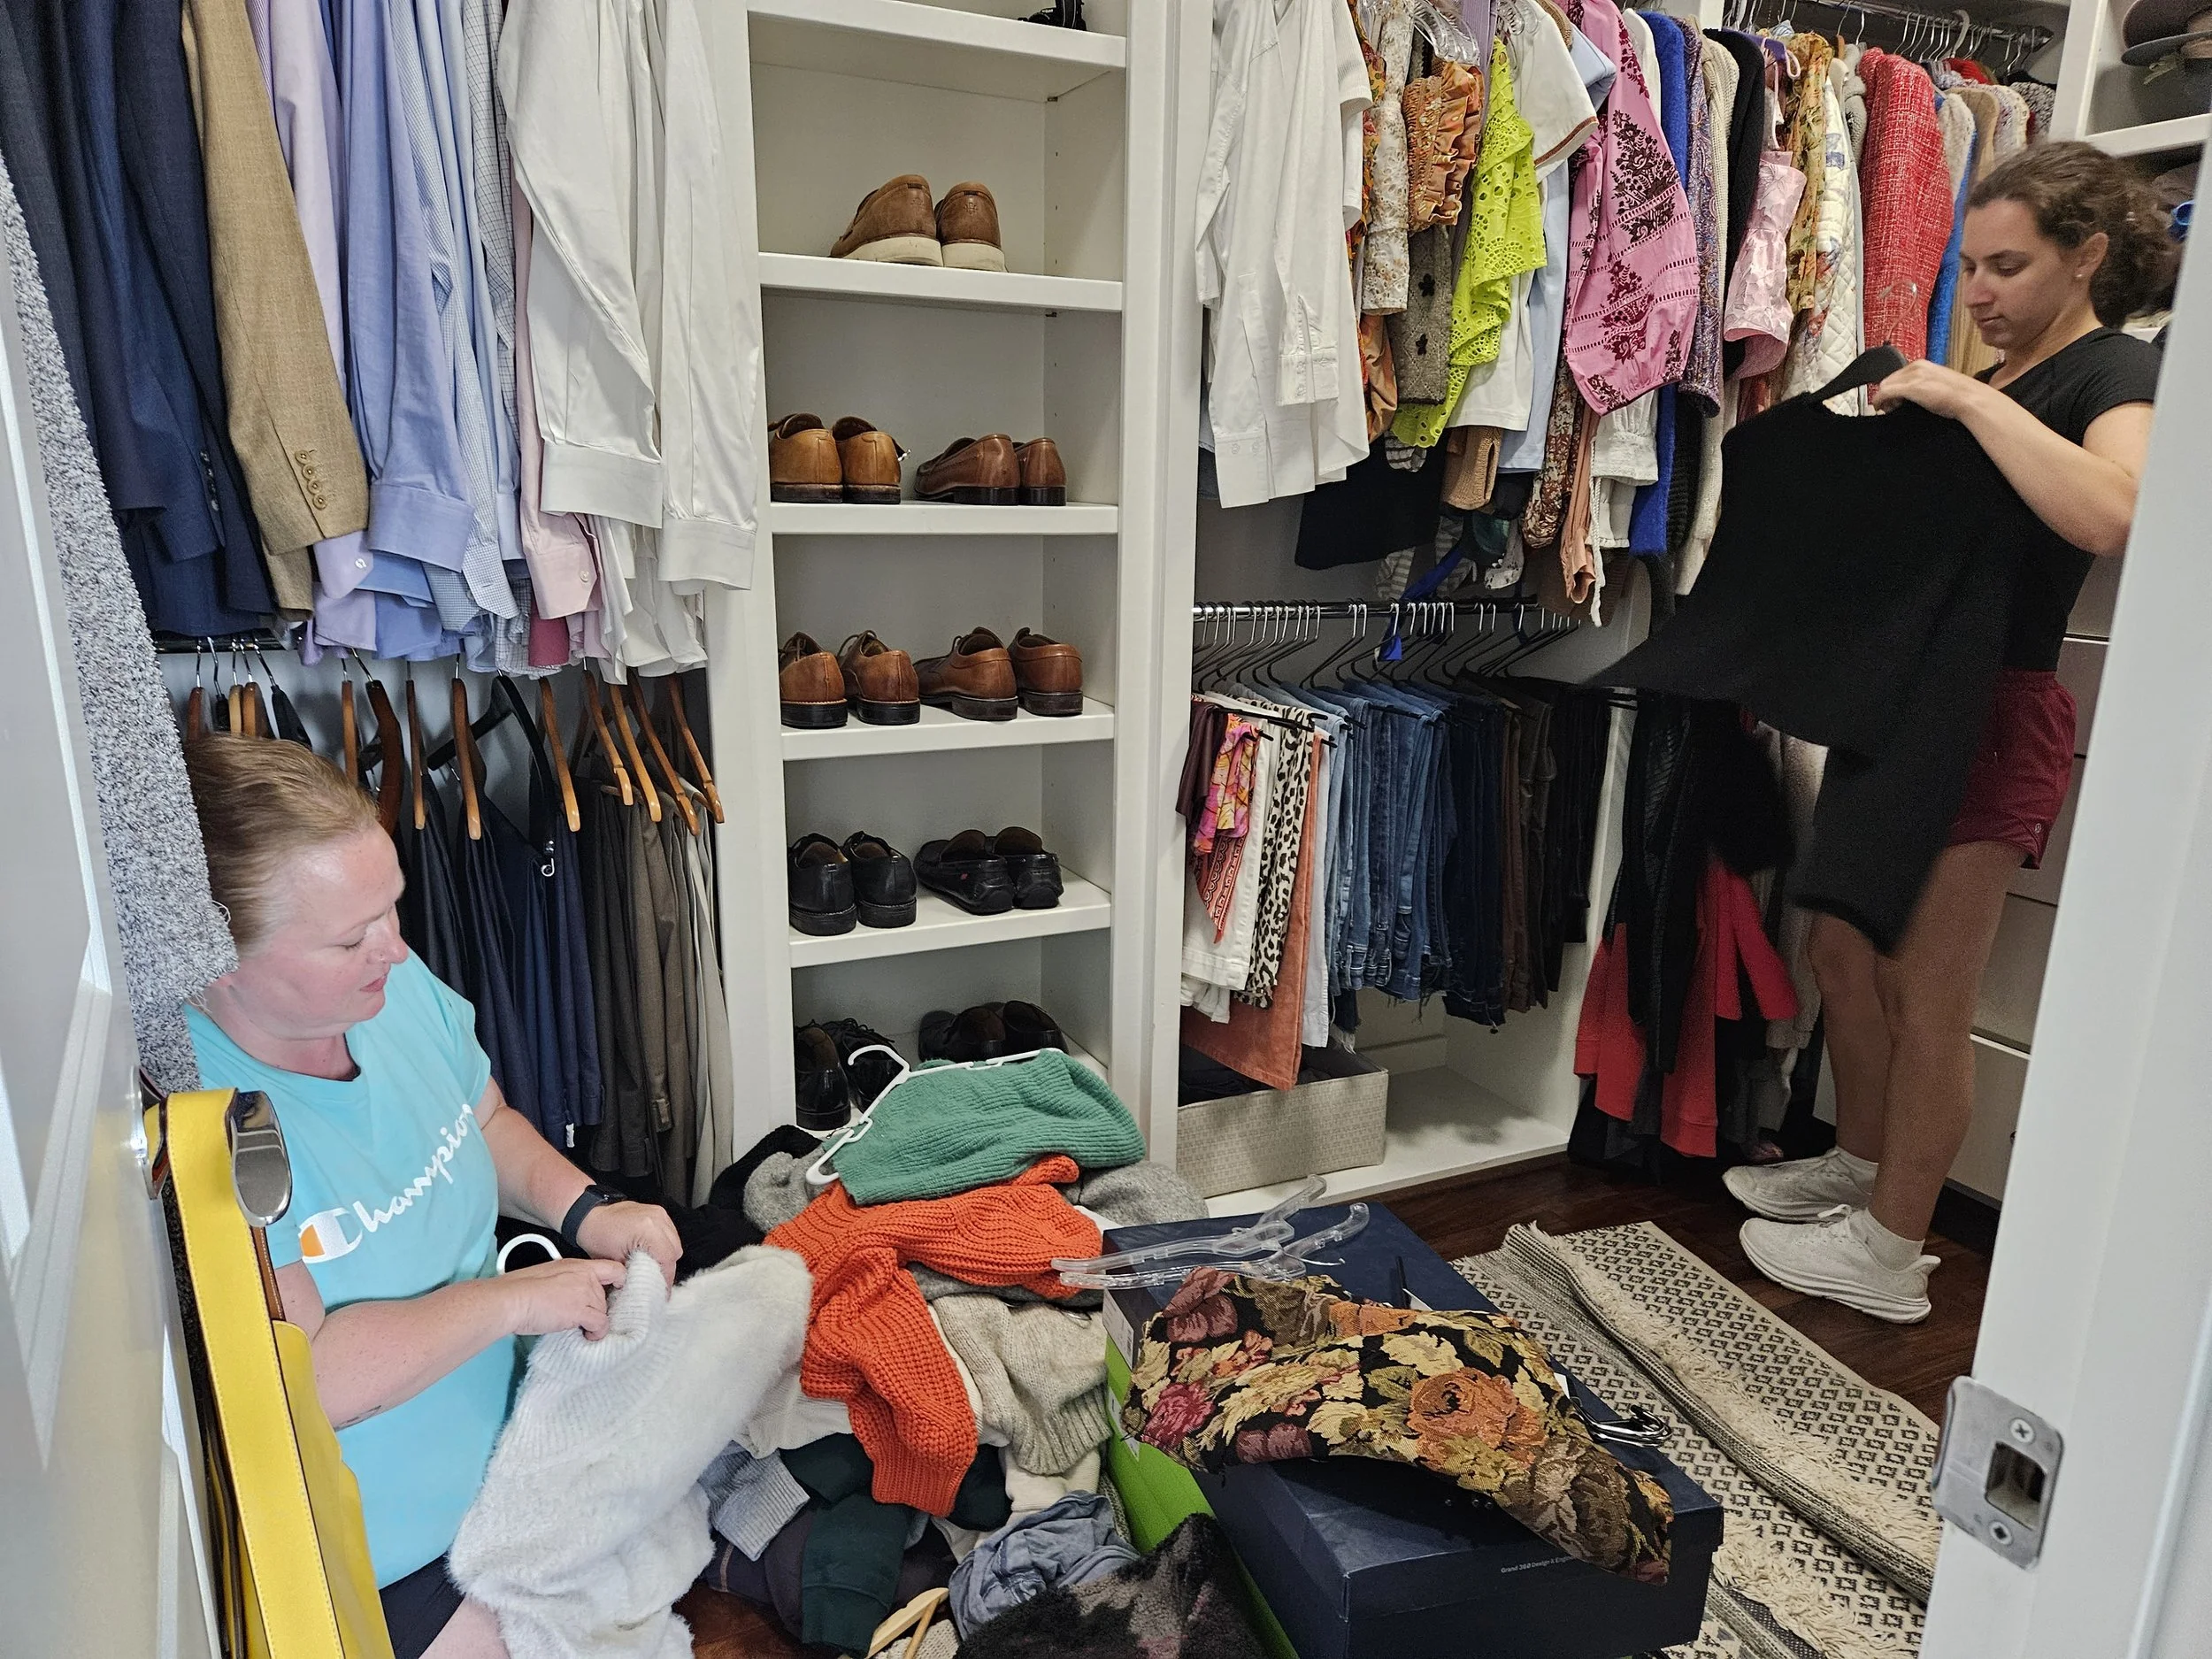
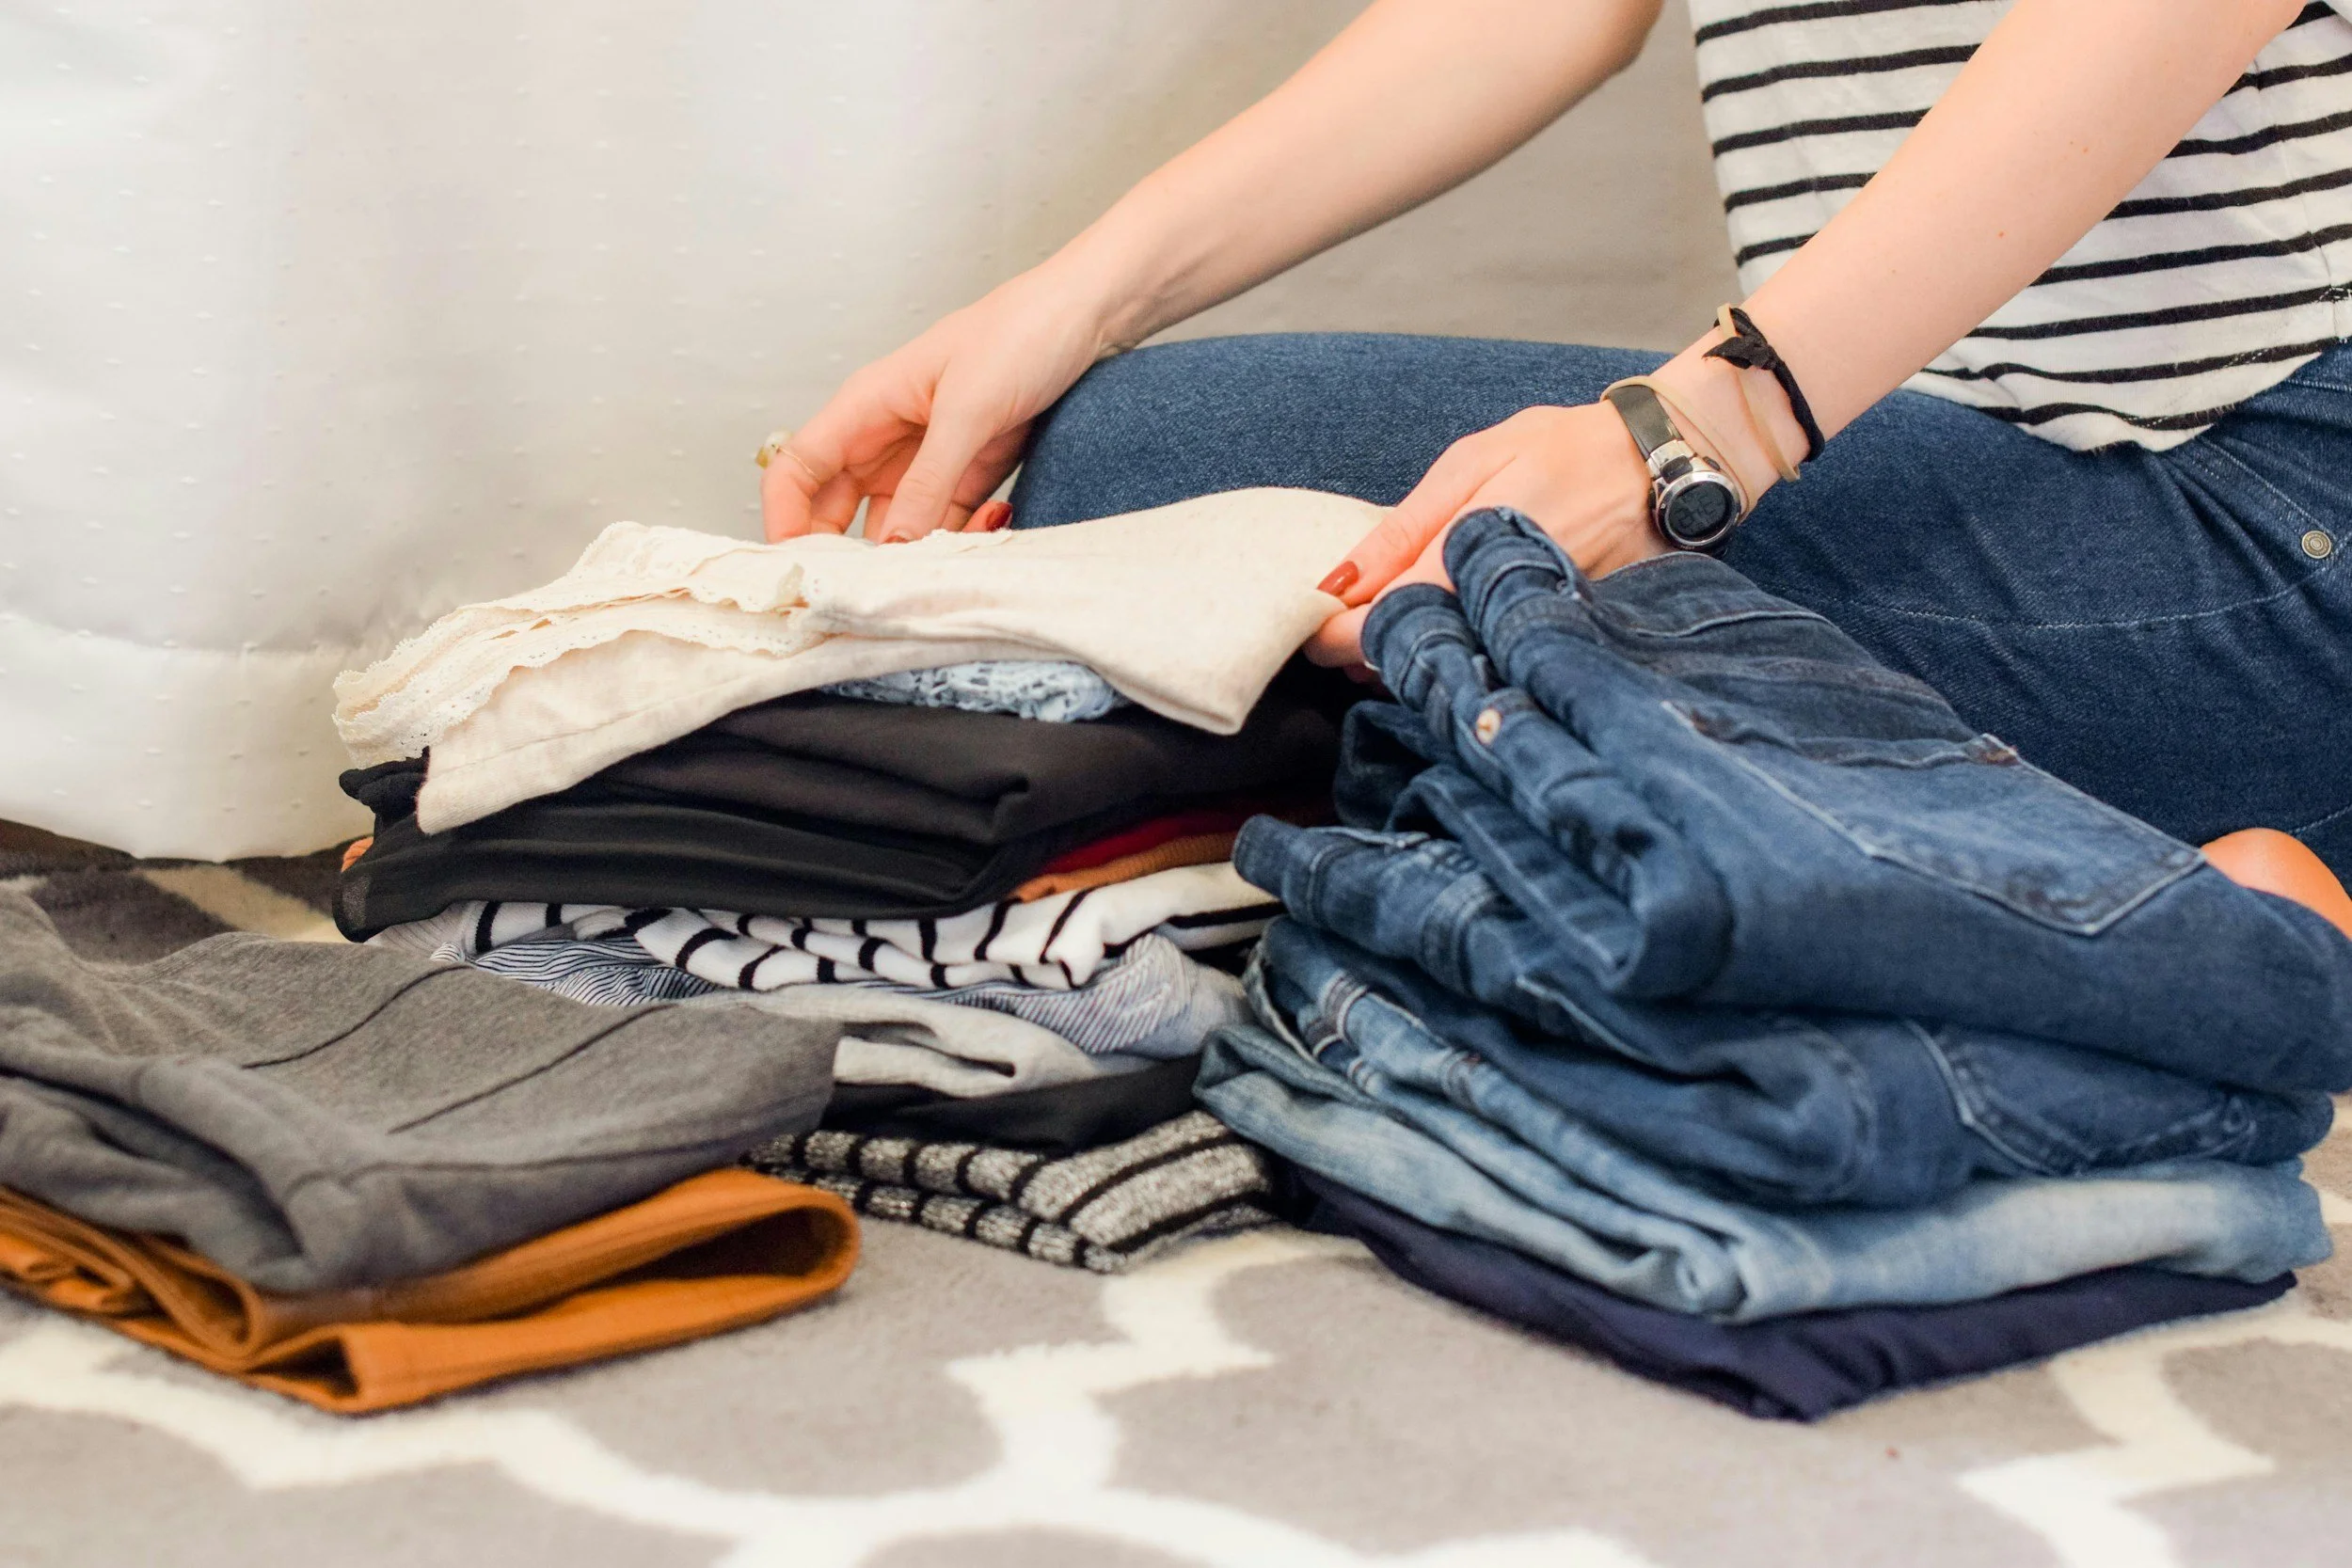
Step 4: We begin with decluttering
This is where the real transformation begins.
Most people think organizing starts with containers.
It doesn’t.
It starts with editing what you own.
We guide you through:
What to keep, donate, or discard
Letting go of excess
Getting clear on what you actually use and need
Identifying donation resources
And I’ll be honest, this is often the hardest part for our clients.
That’s why we simplify it.
We pull out one category at a time
You simply say: keep, donate, trash
We handle the rest
No overthinking. No getting stuck.
We guide the process so it doesn’t drag on for weeks or months, and so you’re not doing it alone.
Because no system works if there’s too much stuff. This is, without question, the most important step.
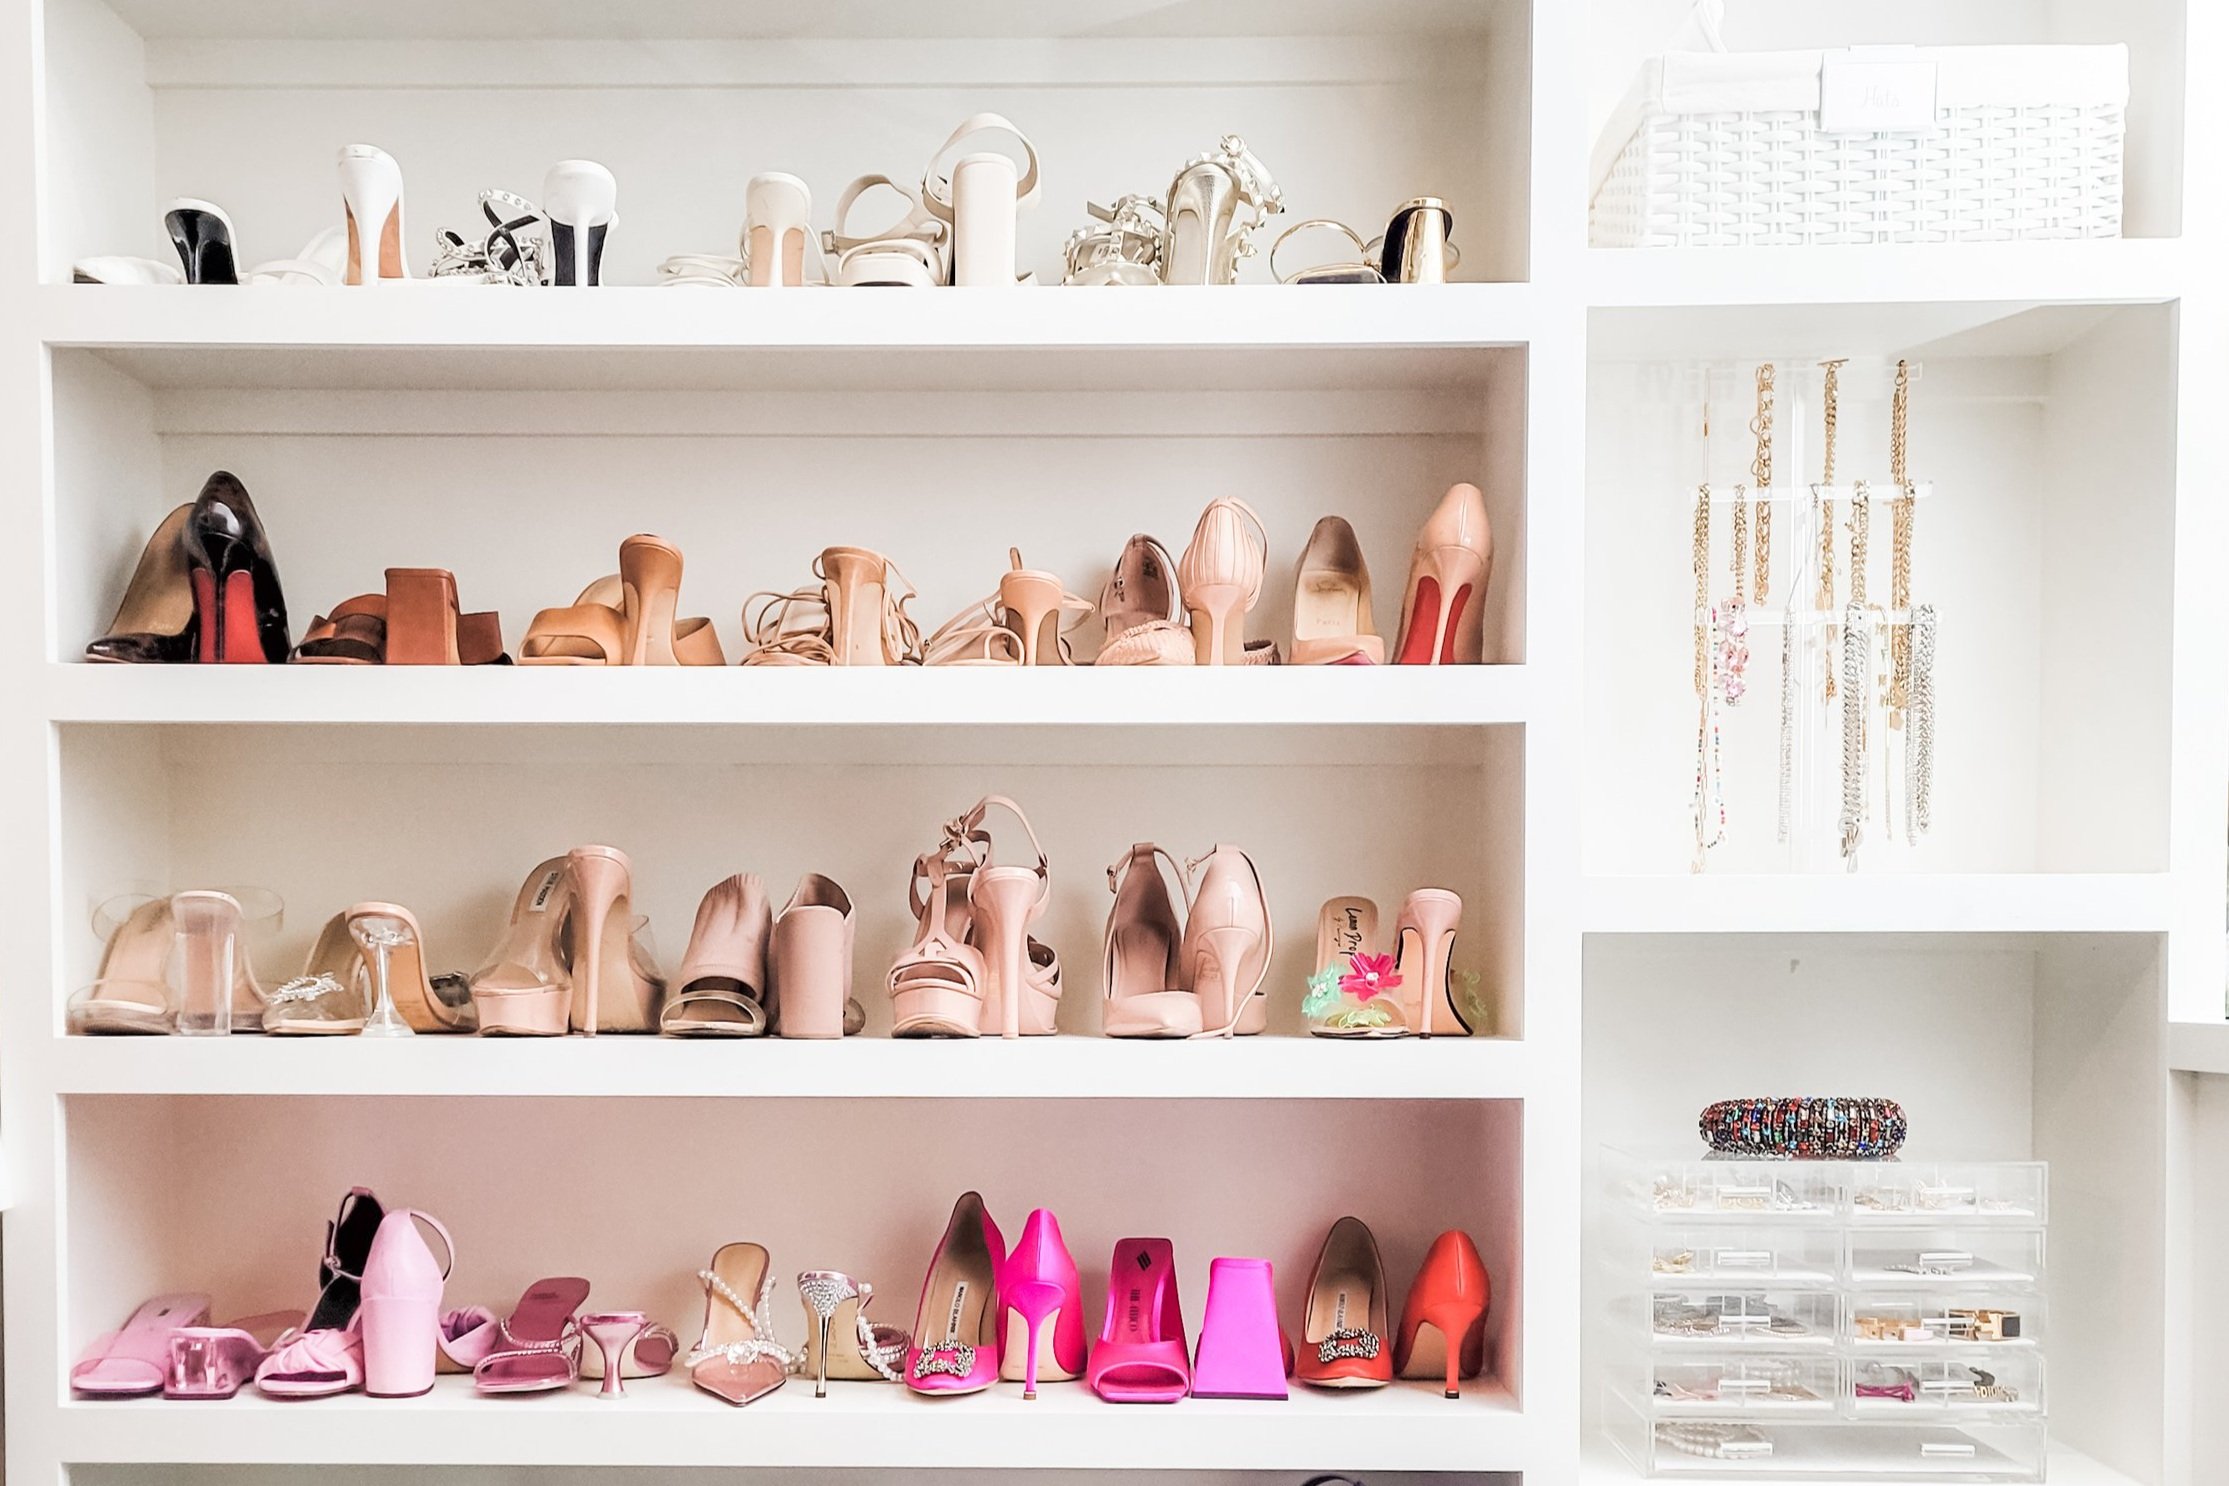
Step 5: Creating zones
At this point, everything left has been intentionally chosen. Now we decide where it should live.
We follow proven standards, but we don’t force them.
We consider:
The layout and limitations of your space
The volume of what you own
How you naturally move through the area
For example:
Yes, silverware often goes near plates, but not always
Kids’ items go where kids can actually reach them.
Everyday items stay front and center.
Every decision is based on how you use your home.
Step 6: Implement systems
Now we bring it all together into systems that are easy to maintain.
We focus on:
Making items easy to access
Making items easy to put away (this is key)
Creating intuitive placement that doesn’t require thinking
We also make sure:
Kids can manage their own things
Bins aren’t too heavy for the person using them
Nothing feels complicated or high-maintenance
If it’s not easy to keep up with, it’s not a good system.
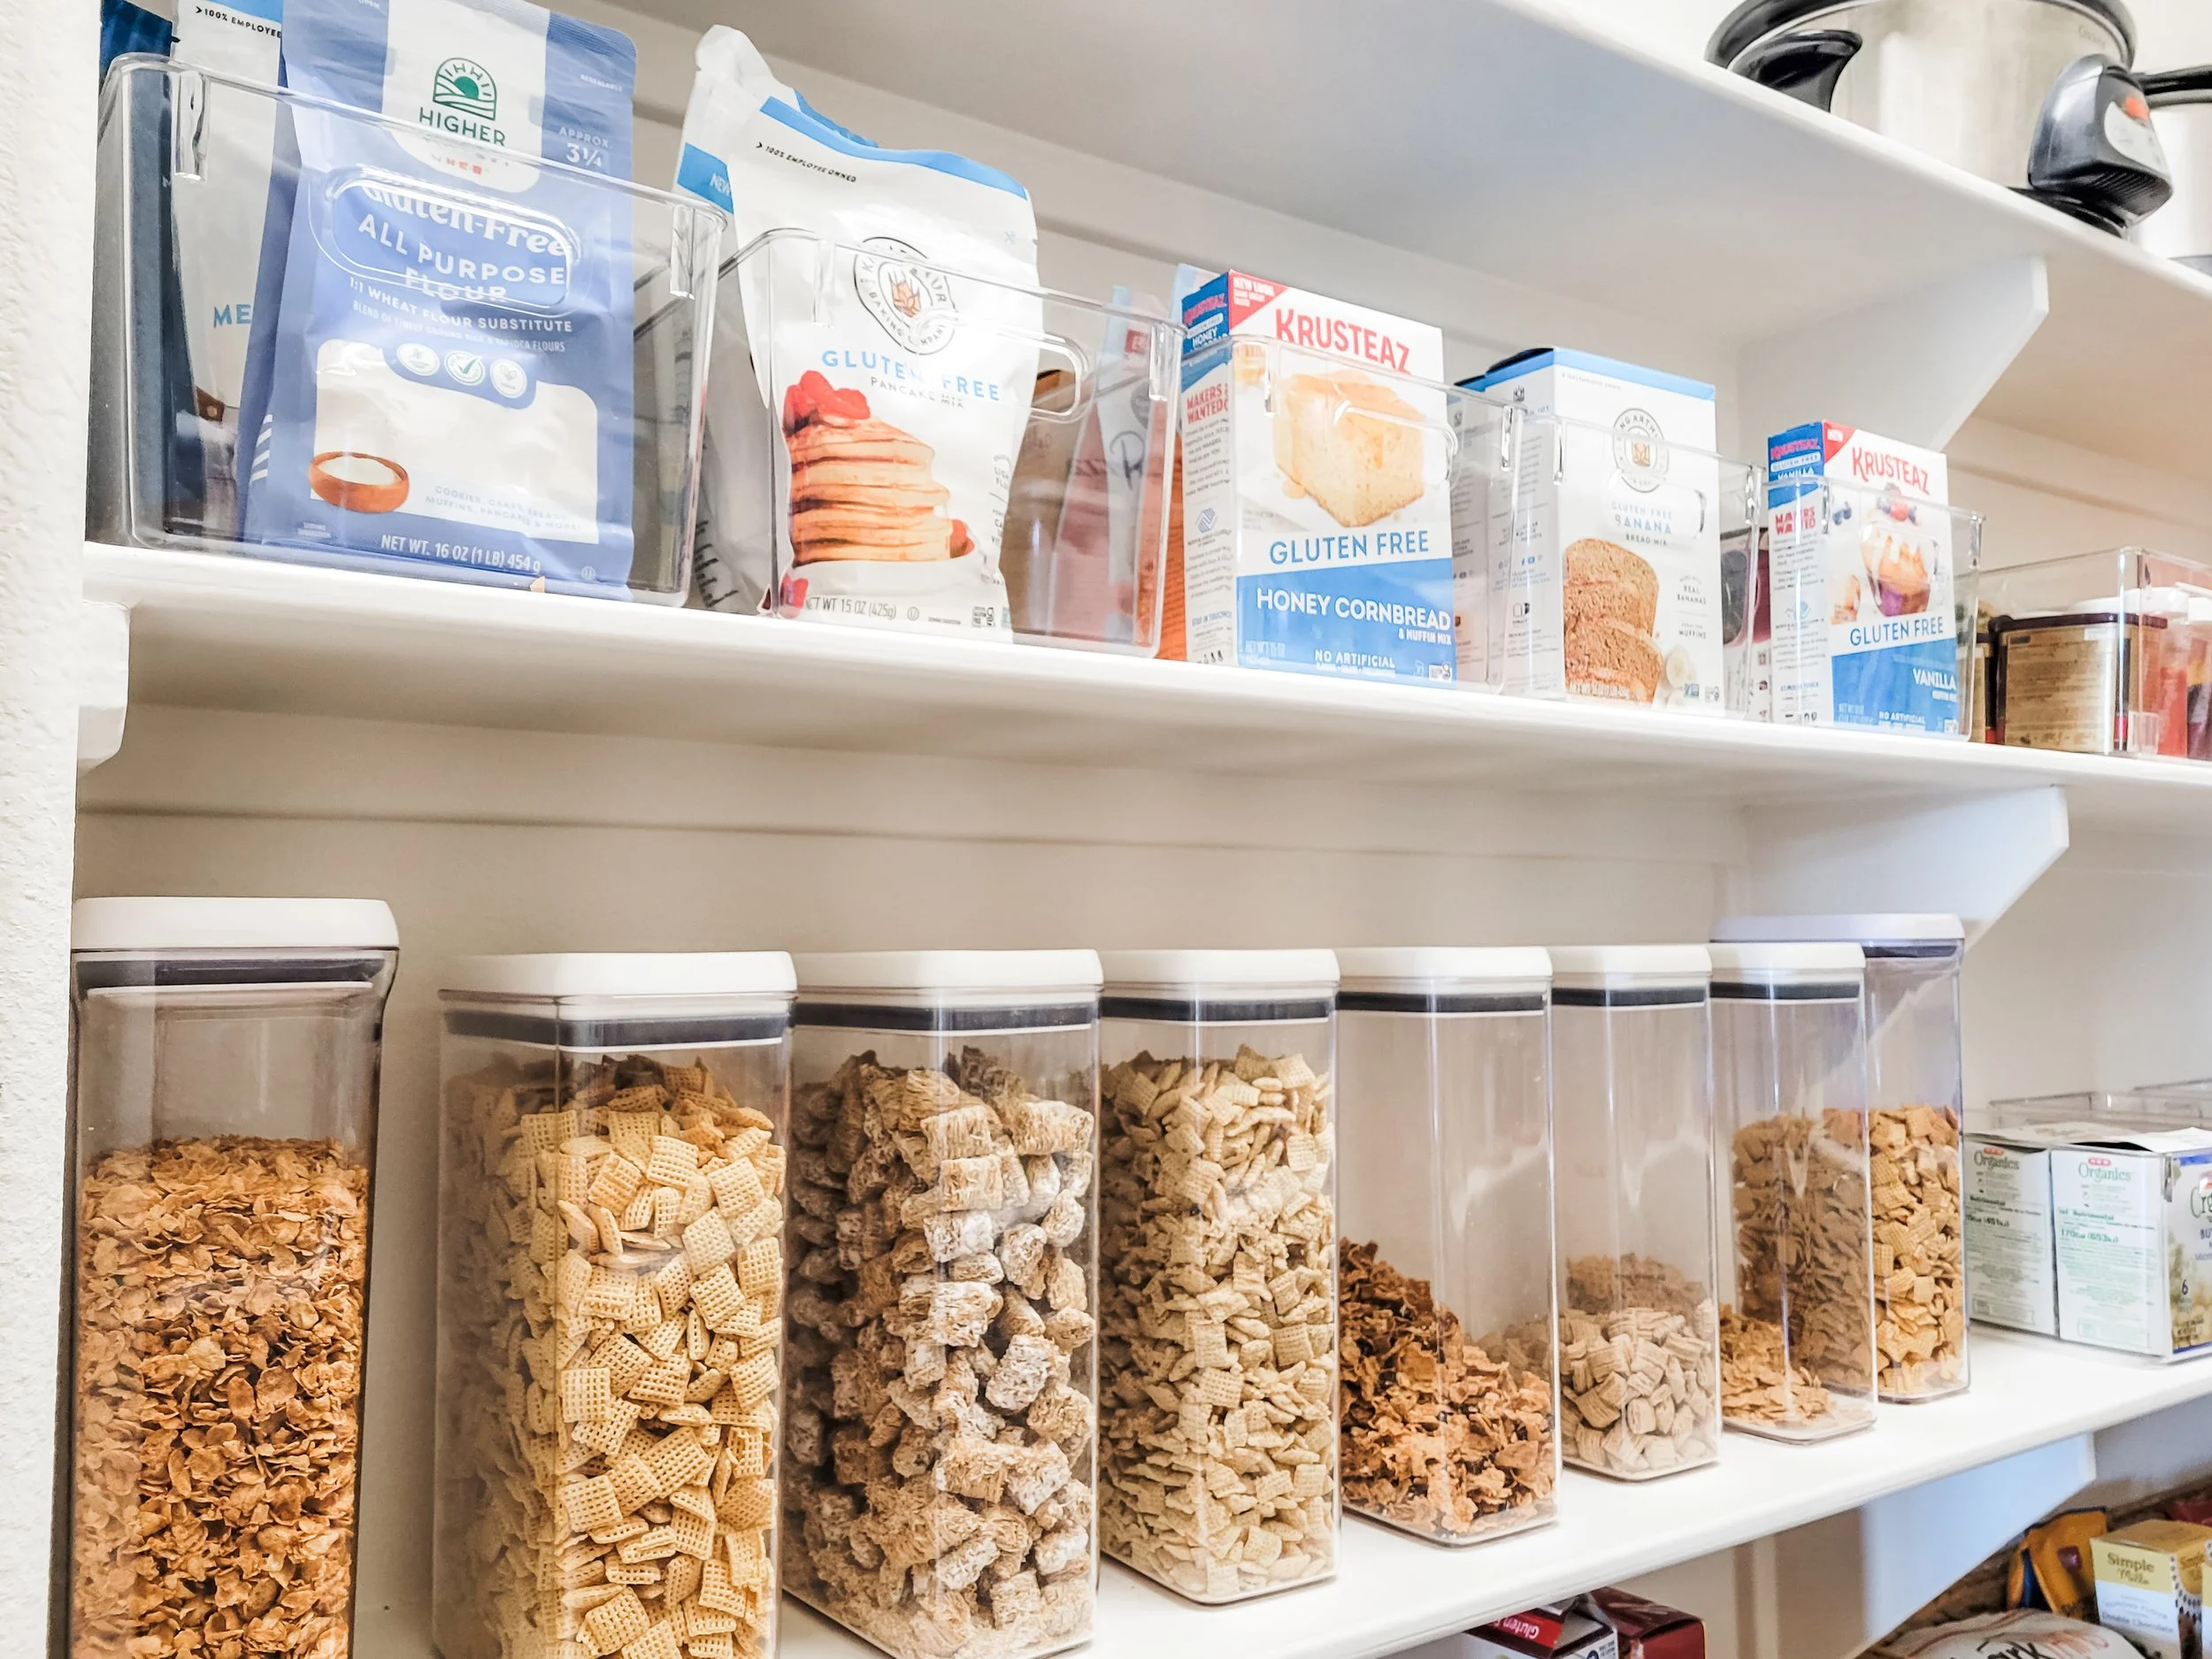
Step 7: Styling + Finishing touches
This is where we really shine and where everything comes together.
At this point, your space is:
Decluttered
Zoned
Functionally set up
Now we elevate it.
Drawer organizers are secured so they don’t slide
Labels are installed where needed
Baskets get protective pads to prevent damage
Items are aligned, spaced, and visually simplified
Color-coding is added where it makes sense
Purse stuffers, boot shapers, and small upgrades are installed
We’re not just making it look good, we’re removing friction so it’s a pleasure to use every day.
Step 8: Walkthrough and maintenance
This is where everything clicks.
We walk you through your newly organized space and show you:
Where everything lives
Why it’s set up this way
How to maintain it moving forward
We also:
Look for any gaps
Make real-time adjustments
Ensure the system truly works for you
Because the goal isn’t just a transformation. It’s a home you can keep up with.
What makes our process different
We don’t just focus on the pretty.
We focus on:
Your habits
Your routines
Your mental load
and the pretty
We’re thinking about:
How fast you can reset a space
Whether your kids can maintain it
Whether this will still work on a busy, chaotic day
Making the space aesthetically pleasing to look at and use
Final Thoughts
If you’ve been feeling stuck, overwhelmed, or like you’ve tried organizing over and over again without it sticking, there’s usually a reason.
It’s not that you’re doing it wrong.
It’s that you haven’t had the right process or support.
That’s exactly what we provide.
And when it’s done right?
It doesn’t just change your space, it changes how your home feels to live in.

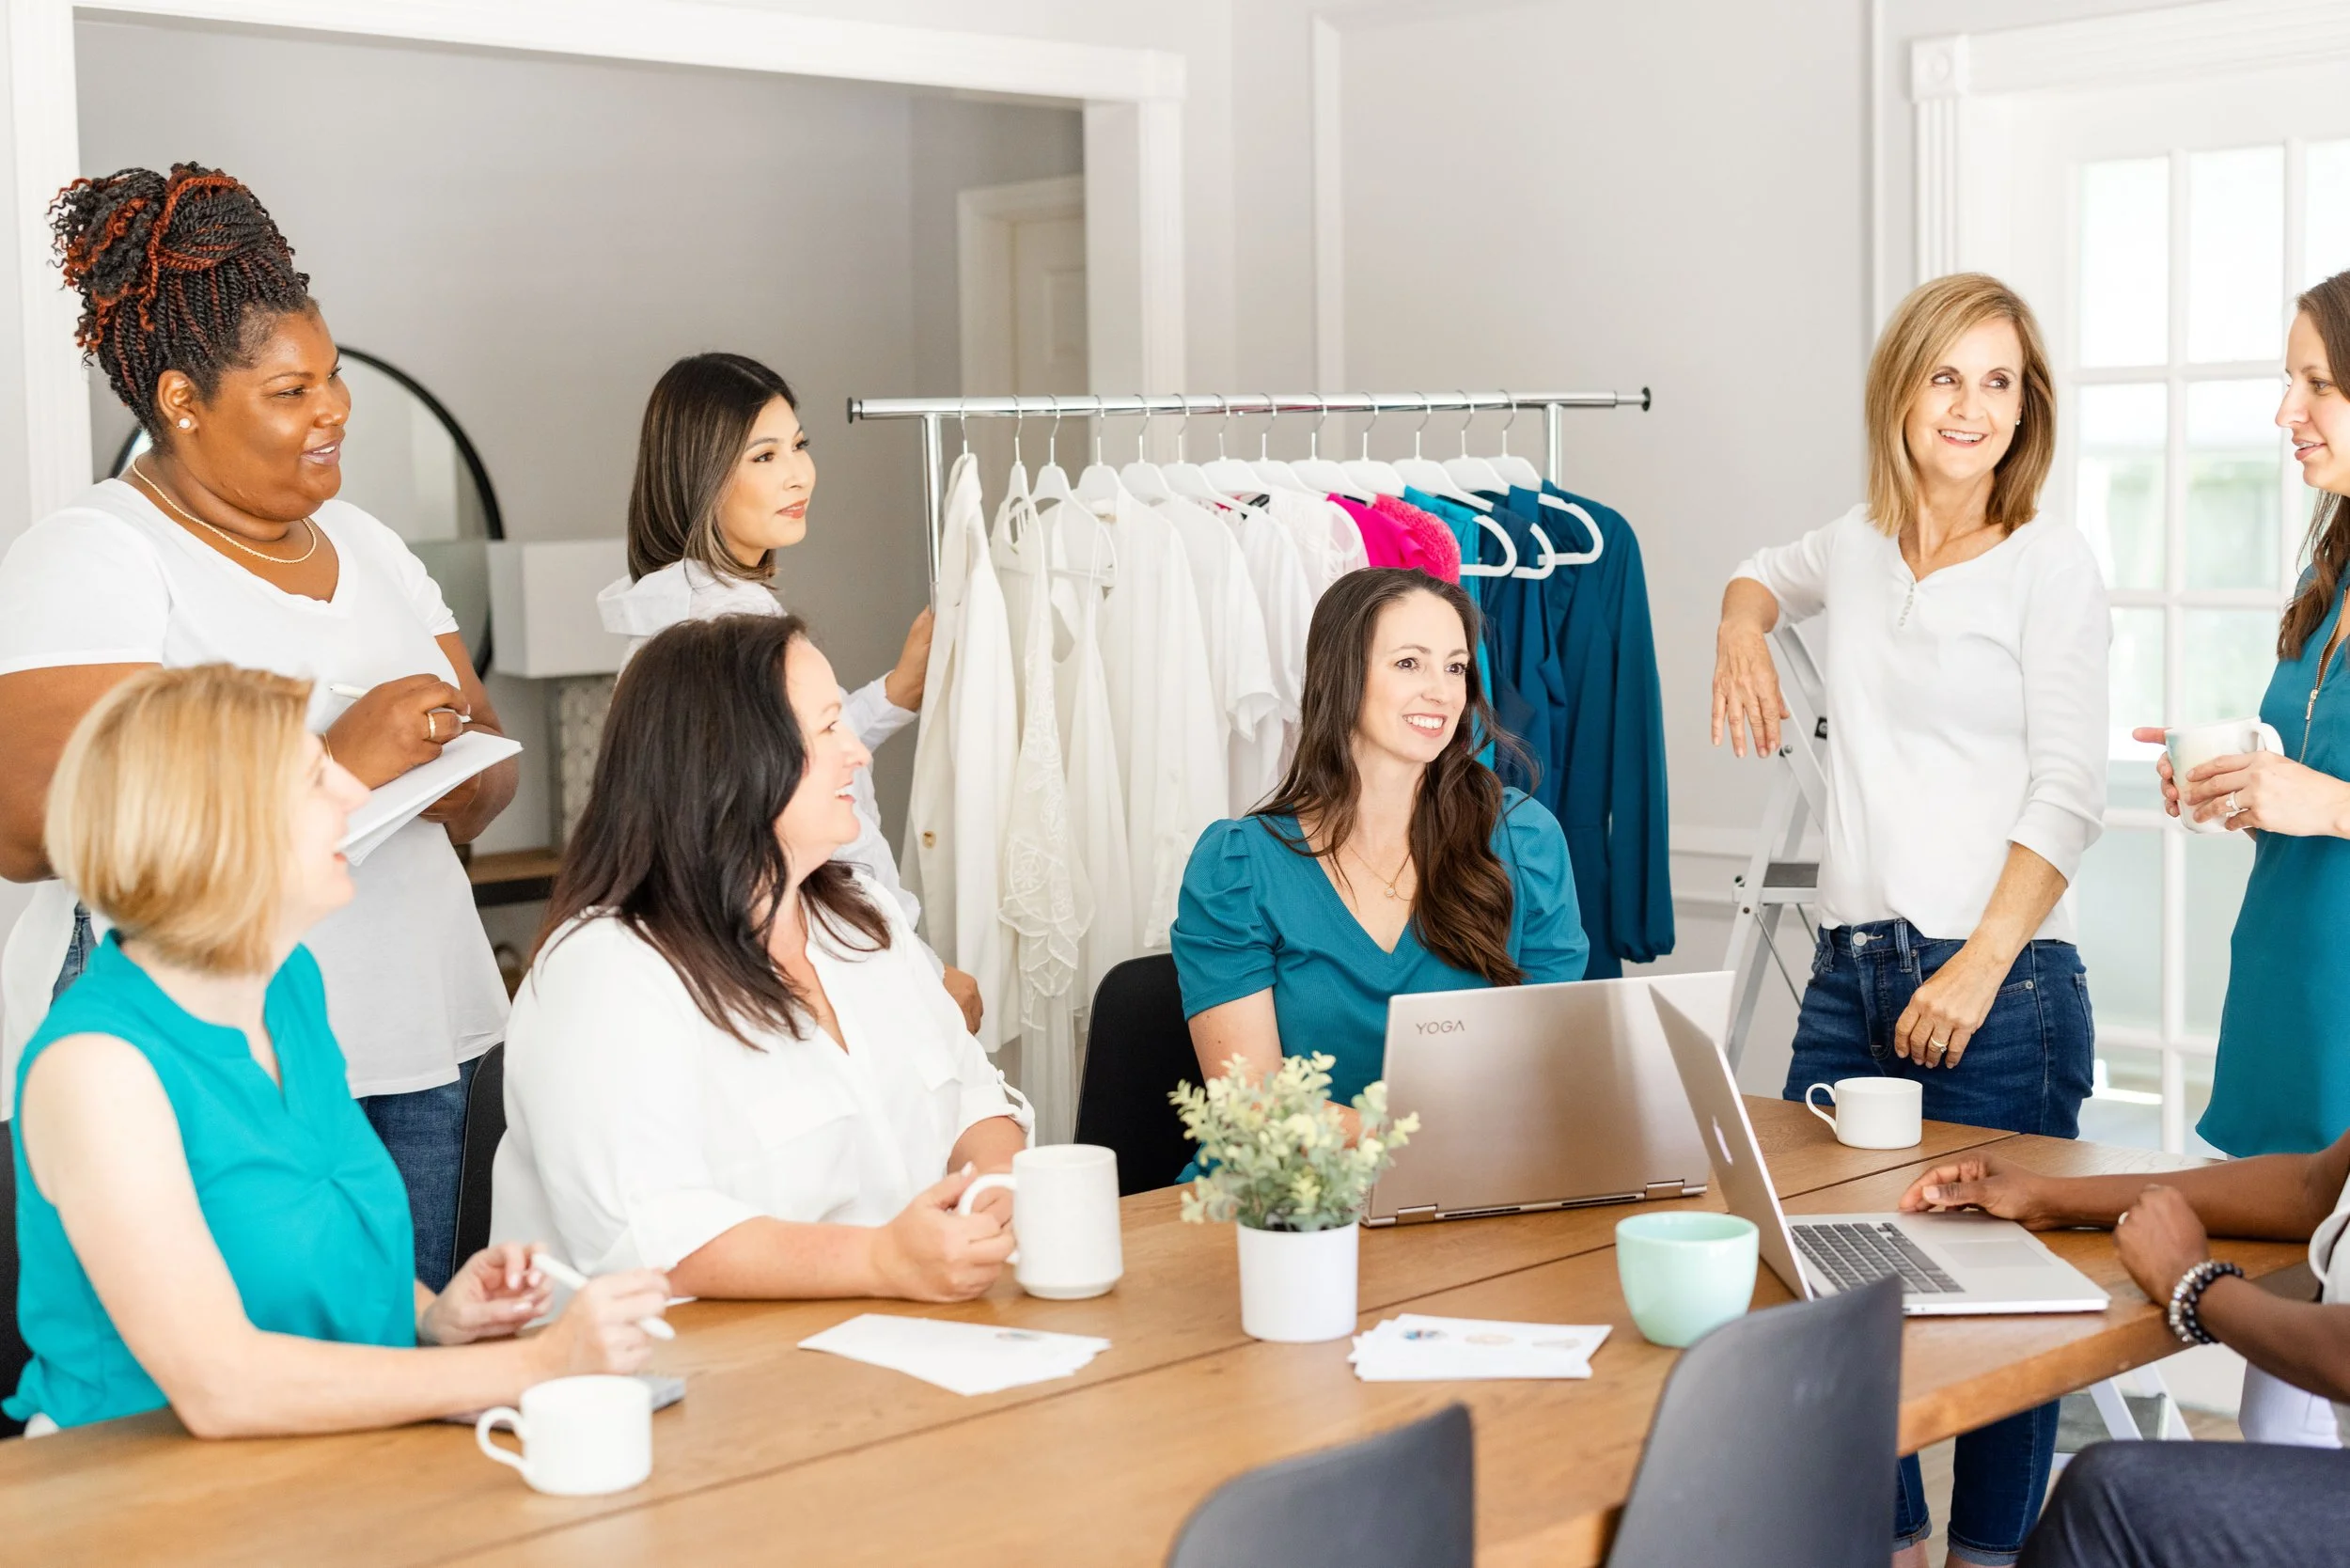
Hi, I’m Naomi!
Founder of Charming Spaces, professional organizer, wife, mom of three and passionate advocate for women.
I hope this blog is everything you’re looking for, but feel free to shoot us a message and follow us on Instagram!